
Recently, a friend approached me with an interesting request. He wanted to add Ramzan timings (Iftar and Sehri) from major institutions in Kashmir to his website. Specifically, he wanted these timings displayed at the top of individual posts during the month of Ramzan. He initially provided me with two timetables in the form of images—one from each of the two major institutions in Kashmir.
At first, I thought this would be simple. I created two buttons on his website. When clicked, Button 1 would display the timetable from Institution 1 as a popup image, and Button 2 would show the timetable from Institution 2. While it worked technically, it felt clunky. Users had to click through buttons to view static images, which wasn’t ideal.
The Problem
The main issue was that the timetables were static images. Not only did this limit interactivity, but it also made the process cumbersome for users who just wanted quick access to the timings. Additionally, maintaining and updating these images every year or for different locations would be a hassle.
The Solution
I started brainstorming alternative ways to implement this feature. That’s when I remembered Iftarkar, a website developed by Haider Ali Punjabi that provides accurate Iftar and Sehri timings from major institutions across Kashmir. Iftarkar has been my go-to tool for the past 2-3 Ramadhans, and it’s incredibly reliable. During peak hours, the platform receives lakhs of views, making it a trusted source for prayer timings.
Fortunately, Haider was kind enough to grant me API access to Iftarkar’s data. This opened up a world of possibilities. Instead of relying on static images, I could now fetch live, dynamic data and integrate it seamlessly into my friend’s website.
How I Created the Widget
Step 1: Fetching Data from the API
The first step was to fetch the prayer timings using the Iftarkar API. The API provides data in JSON format, which includes timings for various institutions like Dar-ul-Uloom Raheemiya, Educational Trust Kashmir, and others. Each institution has its own set of timings for every day of the year.
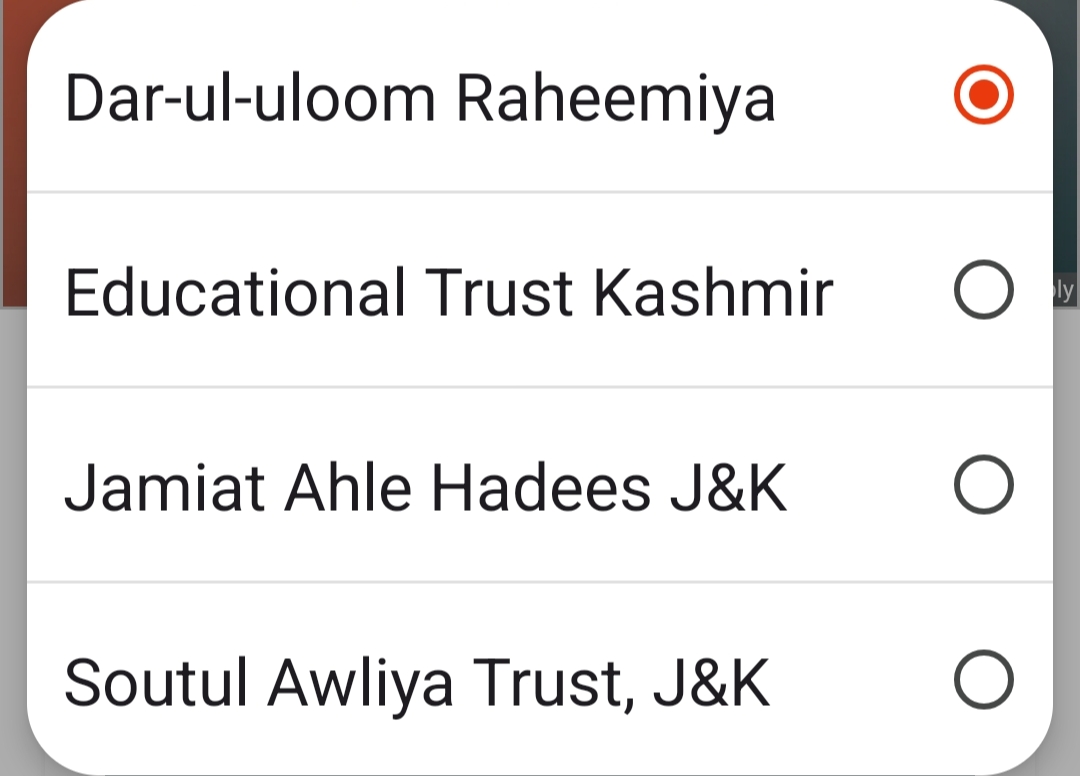
Step 2: Creating a Dropdown for Institutions
To allow users to select their preferred institution, I added a dropdown menu. This dropdown dynamically populates with the names of all available institutions from the API.
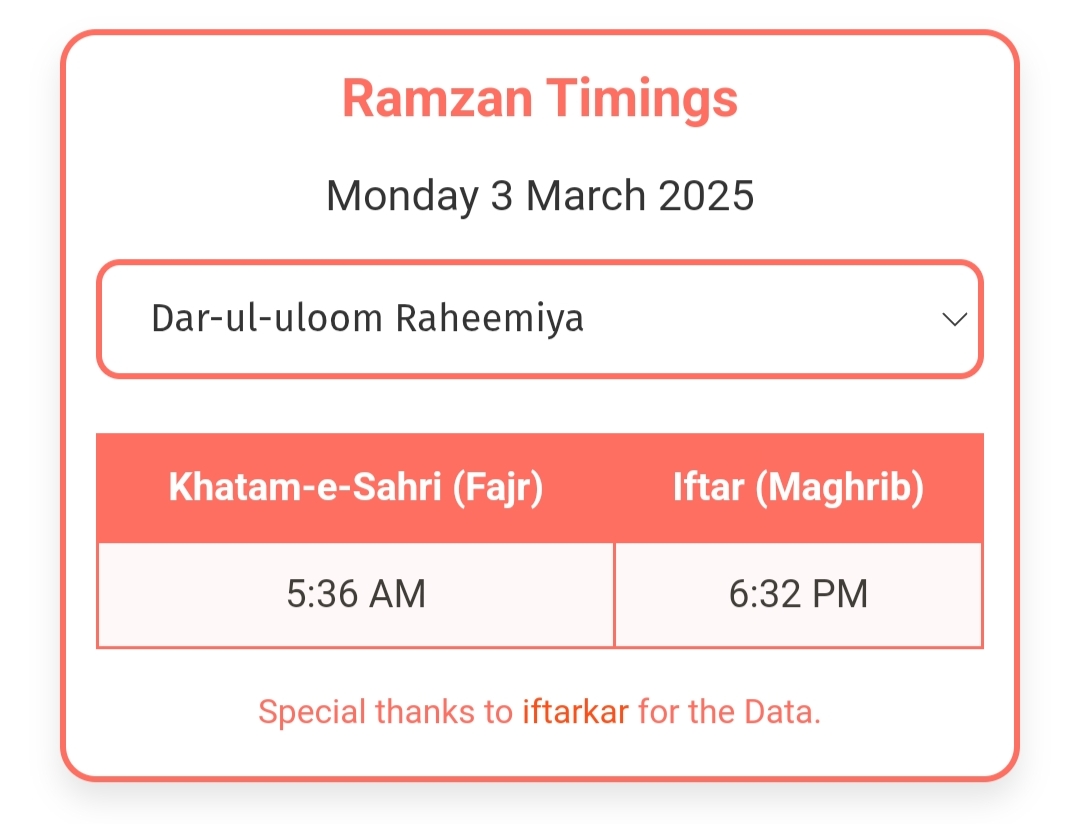
Step 3: Displaying Timings in a User-Friendly Format
Once the user selects an institution, the widget displays the current day’s Iftar and Sehri timings in a clean table format. To ensure the timings are easy to read, I converted them into a 12-hour format.
Step 4: Adding Local Storage and Caching
To optimize performance and reduce API calls, I implemented caching using localStorage. The widget stores the fetched data locally and uses it for subsequent visits within a 24-hour period. This ensures faster load times and reduces server load.
Step 5: Customizing CSS
To make the widget blend seamlessly with any website, I designed it with minimalistic CSS. Users can easily customize the styles to match their website’s theme.
How You Can Add It to Your Website
If you’d like to add this widget to your website, here’s what you need to do:
- Add the widget's CSS file to your HTML section:
<link rel="stylesheet" href="https://cdn.jsdelivr.net/gh/maroofmedia/iftarkar-widgets/widget.min.css">- Add this code snippet where the widget will be displayed:
<div id="prayer-timings-widget"></div>- Include the widget's JavaScript file at the end of your HTML section:
<script src="https://cdn.jsdelivr.net/gh/maroofmedia/iftarkar-widgets/widget.min.js"></script>Final Thoughts
Building this widget was a rewarding experience. It gave me an opportunity to work with APIs, caching, and dynamic content. Thanks to Haider and his incredible work on Iftarkar, this project became much easier to implement.
By the way, Iftarkar is now part of the NamazPar mobile app, which offers even more features for managing prayer timings. If you’re looking for a reliable app to track your prayers, download it from namazpar.com.
The code is open-source and available on my GitHub profile for anyone to explore, use, or contribute to!